Step 1: Register the application in Azure AD
Step 2: Assign API permissions to the application
"requiredResourceAccess": [
   {
      "resourceAppId": "00000002-0000-0ff1-ce00-000000000000",
      "resourceAccess": [
         {
            "id": "dc50a0fb-09a3-484d-be87-e023b12c6440",
            "type": "Role"
         }
      ]
   }
],
Step 3: Generate a self-signed certificate
# Create certificate
$mycert = New-SelfSignedCertificate `
-DnsName "leoguides.com" `
-CertStoreLocation "cert:\CurrentUser\My" `
-NotAfter (Get-Date).AddYears(1) -KeySpec KeyExchange
# Export certificate to .pfx file
New-Item -Path "C:\" -Name "Temp" -ItemType "directory"
$mycert | Export-PfxCertificate -FilePath C:\Temp\mycert.pfx `
-Password $(ConvertTo-SecureString -String "123456" -AsPlainText -Force)# Export certificate to .cer file
$mycert | Export-Certificate -FilePath C:\Temp\mycert.cerStep 4: Attach the certificate to the Azure AD application
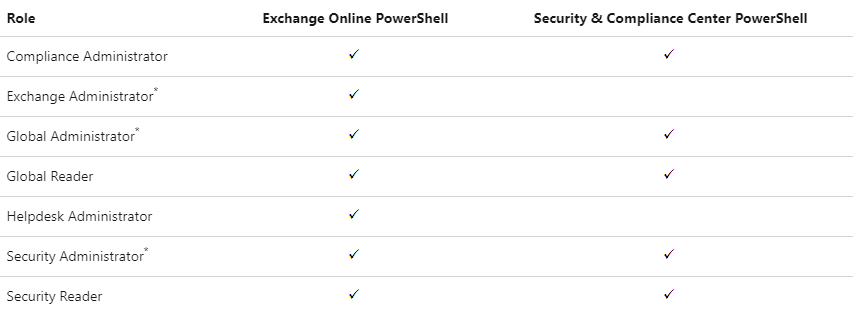
Step 5: Assign Azure AD roles to the application

Connect to Exchange Online PowerShell
Connect-ExchangeOnline `
-CertificateFilePath "C:\Temp\mycert.pfx" `
-CertificatePassword (ConvertTo-SecureString -String "123456" -AsPlainText -Force) `
-AppID "ba8d5bb4-7c01-40dc-bc1b-32d2bcf2bf1a" `
-Organization "leoguides.onmicrosoft.com"
5/5 - (1 vote)


